
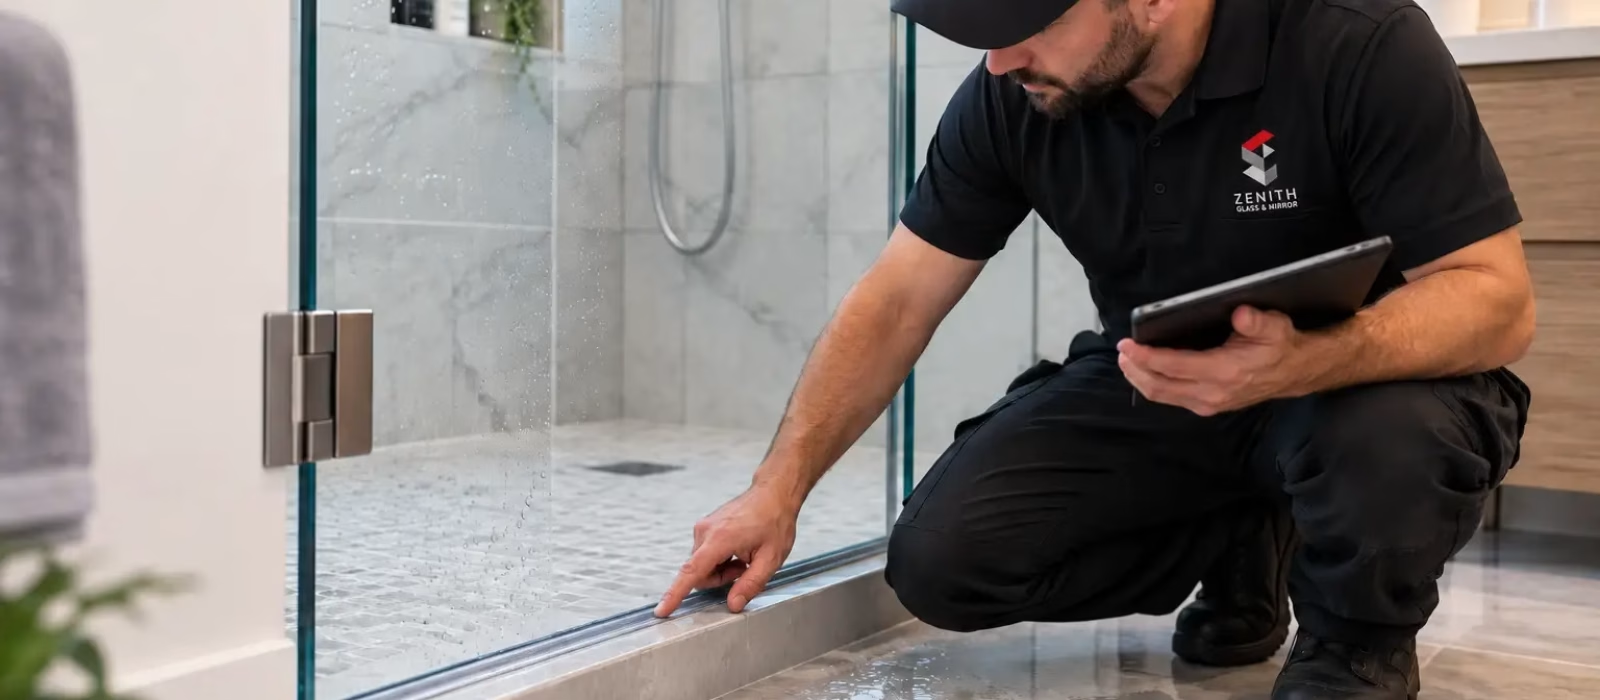
Shower door leaks can turn a minor bathroom annoyance into slippery floors, swollen trim, or recurring dampness. In most cases, the glass itself is not leaking. Water is escaping around the enclosure through a worn sweep, failed seal, loose hardware, an open joint, or a layout that sends too much spray toward the door.
Small clearances around frameless glass are normal. A good enclosure manages water through panel position, door swing, seals, slope, and drainage rather than behaving like a sealed box. Zenith’s frameless shower doors page is a useful reference if you want to understand how these systems are built.
Before replacing glass or covering every joint with silicone, find the first point where water escapes. Zenith’s glass maintenance checklist also recommends watching shower hinges, sweeps, seals, sagging, rubbing, and leakage before a small issue grows.
Why Shower Door Leaks Happen
Shower door leaks happen when water finds a path around the enclosure faster than the design can direct it back toward the drain. On a framed unit, the cause may be a worn gasket, track problem, or failed sealant. On a frameless unit, it may be a widened gap, missing sweep, misaligned panel, or direct spray hitting an opening.
The correct repair depends on that path. More caulk will not correct a sagging door. A new sweep will not fix a curb that slopes toward the bathroom. Tightening hinges will not solve moisture entering behind tile.
The National Glass Association’s frameless shower guidance treats watertightness as a design and installation consideration. That is a useful mindset: diagnose the enclosure as a system instead of blaming the glass automatically.
7 Common Causes of Shower Door Leaks
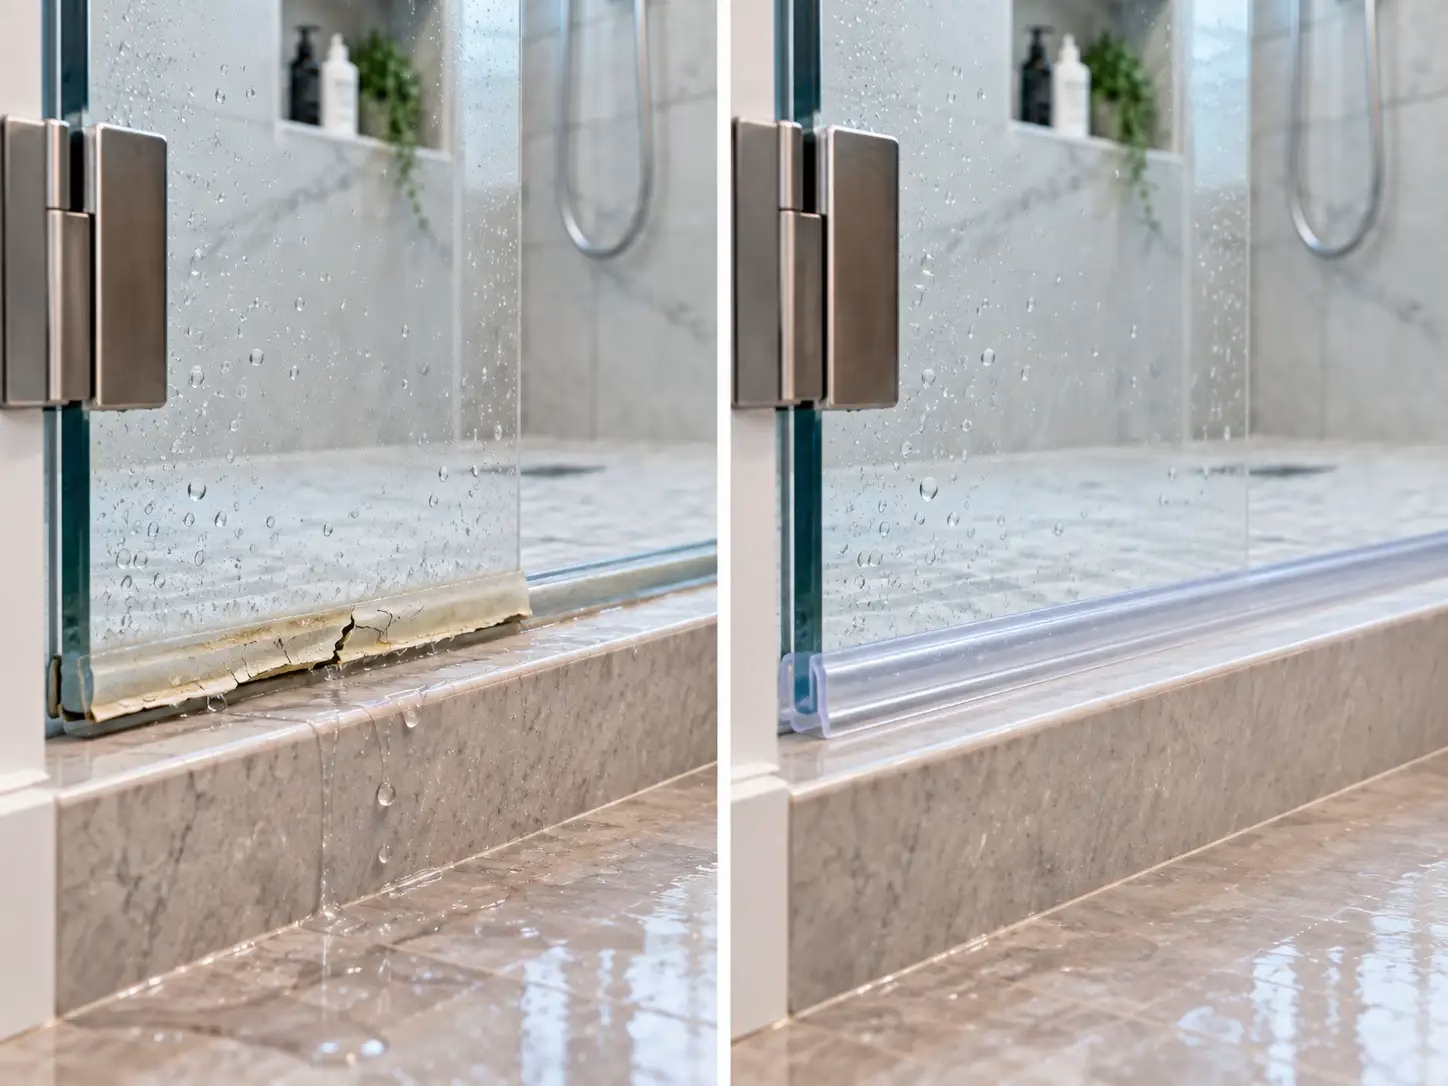
1. The bottom sweep is worn or the wrong size
The clear strip on the bottom of many glass doors is a wear component. It flexes whenever the door moves and is exposed to water, soap, cleaners, and temperature changes. Over time, it can harden, split, shrink, or stop contacting the threshold.
When shower door leaks appear directly under the moving door, inspect the sweep first. Look for curled fins, cracks, brittle vinyl, or sections that no longer touch the curb or drip rail.
Replacement sweeps must match the glass thickness and the gap they need to cover. A loose part can slide off; an overly tight one can drag and stress the door.
2. A vertical seal has failed
Frameless and semi-frameless doors often use clear seals where a moving panel meets a fixed panel or wall. These seals may use flexible fins, bulbs, or magnetic profiles.
Shower door leaks along the handle side or hinge side often point to a torn, shrunken, missing, or poorly positioned seal. Check the full height. A small opening near the floor can release a surprising amount of runoff.
Do not assume every clear seal is interchangeable. The profile must suit the glass thickness, door configuration, and direction of movement.
3. The glass door has shifted out of alignment
Heavy glass depends on accurately positioned hinges and solid mounting. If a hinge loosens or the door settles, the clearances can change. The strike-side gap may widen, the sweep may stop touching evenly, or the bottom edge may begin rubbing.
Shower door leaks caused by alignment usually have other clues: uneven gaps, a door that no longer closes smoothly, a magnetic seal that misses, or a panel that sits lower at one corner.
Hinge adjustment is not a casual DIY task. Tempered shower glass is heavy, and small hardware movements can change how the load is carried. Zenith’s glass thickness guide explains why frameless shower panels depend on proper thickness, hardware, and support.
4. Perimeter silicone has separated
Silicone seals fixed glass, channels, and joints where water should not pass. Age and movement can cause a bead to split, peel from tile, or develop gaps.
If shower door leaks appear at a fixed panel, wall channel, or curb connection, inspect the silicone in good light. Look for lifted edges, voids, or places where the sealant has pulled away.
Do not automatically caulk every visible line on both sides. Some systems have drainage paths or weep locations. Blocking the wrong opening can trap water. If the original sealing pattern is unclear, follow the enclosure manufacturer’s instructions or have the installation assessed.
5. The showerhead sends water directly at the opening
Sometimes the enclosure is intact and the spray pattern is the problem. A hand shower, body spray, or powerful showerhead aimed at the door can overwhelm normal gaps and seals.
If shower door leaks only happen with a certain spray setting, aim the water toward the tiled wall and test again. A change in showerhead angle may solve the issue. If not, the enclosure may need a better seal, deflector, drip rail, or layout adjustment.
6. The curb or threshold sends water outward
Water follows gravity. The shower floor and curb should direct runoff toward the drain, not the bathroom. A flat, back-pitched, or irregular threshold can collect water near the glass and send it beneath the door.
Shower door leaks at a bottom corner are worth testing with a small amount of controlled water. Watch where water moves after it lands on the curb. If it consistently travels outward, the issue may involve the threshold or tile work rather than the glass door.
A larger sweep may reduce the symptom, but it will not correct poor drainage geometry.
7. The leak is coming from tile, plumbing, or waterproofing
Not every puddle beside a shower is caused by the enclosure. Water can enter through failed joints, cracked caulking, plumbing penetrations, or defects behind the tile assembly.
The Tile Council of North America notes that grout joints are not the waterproofing layer in a wet area. If shower door leaks seem to continue even when water is kept away from the door, the wall, pan, curb, or plumbing may need investigation.
Clues include dampness away from the enclosure, staining below the bathroom, soft drywall, loose tile, persistent mould, or moisture that appears well after the shower is off.
Quick Leak-Diagnosis Table
| Where water appears | Likely cause | First thing to check |
|---|---|---|
| Under the moving door | Worn sweep or excessive bottom gap | Sweep condition and even contact |
| Handle-side edge | Failed strike or magnetic seal | Vertical gap from top to bottom |
| Hinge-side edge | Seal failure or door alignment | Hinge movement and side seal |
| Fixed panel at wall or curb | Failed silicone | Separated or missing sealant |
| Bottom corner | Curb slope, drip rail, or spray direction | Water path during a controlled test |
| Away from the enclosure | Tile, pan, plumbing, or waterproofing | Moisture source beyond the glass |
How to Diagnose Shower Door Leaks Without Guessing
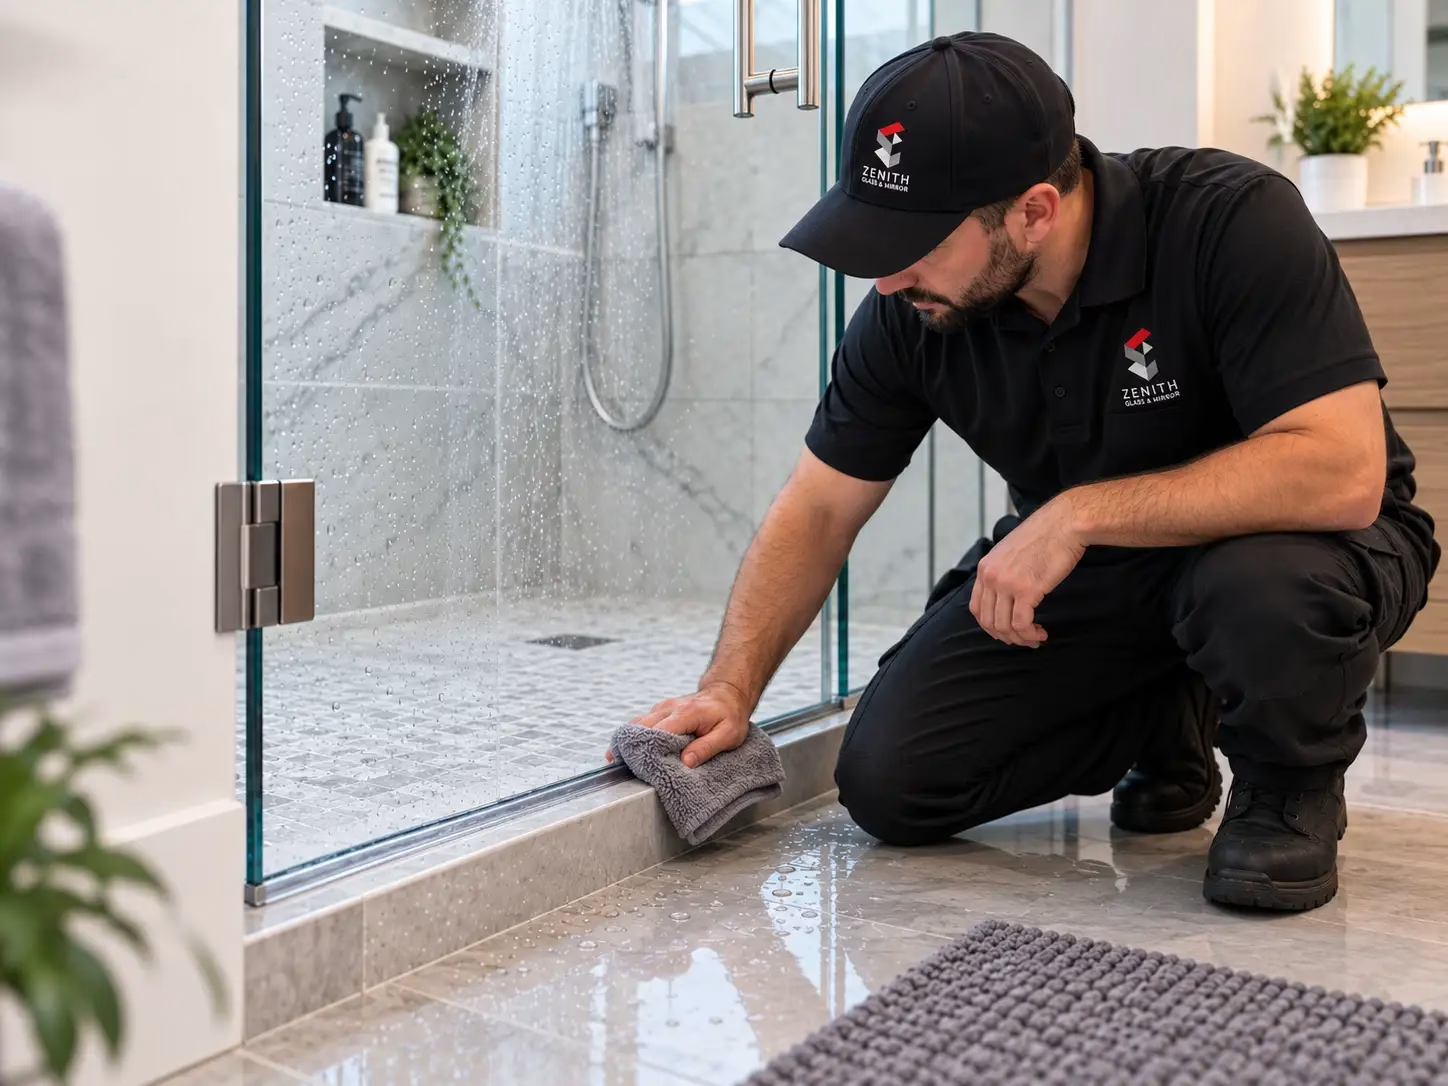
The fastest way to find shower door leaks is to test one area at a time. Start with the bathroom dry so you can see the first wet point.
First inspect the sweep, vertical seals, hinge gaps, silicone joints, and spaces between moving and fixed panels. Check whether the door closes smoothly without scraping or dropping.
Next run a controlled test. Wet one zone at a time, starting away from the door, while someone watches the outside with a dry towel. The first wet point matters more than the final puddle because water can travel along the curb before dripping.
Then test the door area: lower edge, strike side, and hinge side. Do not blast water directly into a gap from a few centimetres away; that does not represent normal use.
Finally, note timing. Shower door leaks that appear immediately usually indicate a direct path such as a gap or failed seal. Delayed moisture may point to water travelling through another part of the shower assembly.
Are frameless shower doors supposed to be completely watertight?
No. Frameless doors use intentional clearances so moving glass does not contact adjacent glass. A well-designed enclosure should contain normal shower spray effectively, but frameless does not mean hermetically sealed.
That is why shower door leaks need context. A few drops caused by spray aimed directly at an opening are different from steady water escaping during normal use.
Can I fix shower door leaks with silicone alone?
Only if failed silicone is actually the cause. Silicone cannot straighten a door, replace a damaged sweep, correct a back-pitched curb, or repair waterproofing behind tile.
If sealant is being replaced, the joint should be clean, dry, and intended for silicone. Do not block designed drainage routes or seal channels contrary to the system instructions.
When should the glass itself be inspected?
Have the glass assessed if you see an edge chip, crack, glass-to-glass contact, sagging, binding, loose hinges, or hardware that no longer holds the panel securely.
Zenith’s safety glass requirements guide explains why shower enclosures use safety glazing. Tempered glass should not be drilled, trimmed, or reshaped after tempering. If new hardware locations or a different panel shape are required, replacement glass may be necessary.
What You Can Fix Yourself and What Needs a Professional
Some shower door leaks have simple maintenance fixes. A homeowner may be able to replace a removable sweep or seal when the correct profile is known, redirect a showerhead, clean drainage areas, or identify deteriorated caulking.
Professional help is the better choice when a heavy door is misaligned, hinges or clamps need adjustment, a fixed panel has shifted, the glass edge is damaged, hardware is loose in the wall, or the enclosure geometry is allowing repeated leakage.
If you are unsure whether the problem is the glass, hardware, or surrounding shower, Zenith’s residential glass repair and replacement services provide a broader starting point without assuming the whole enclosure needs replacement.
How to Prevent Shower Door Leaks From Coming Back
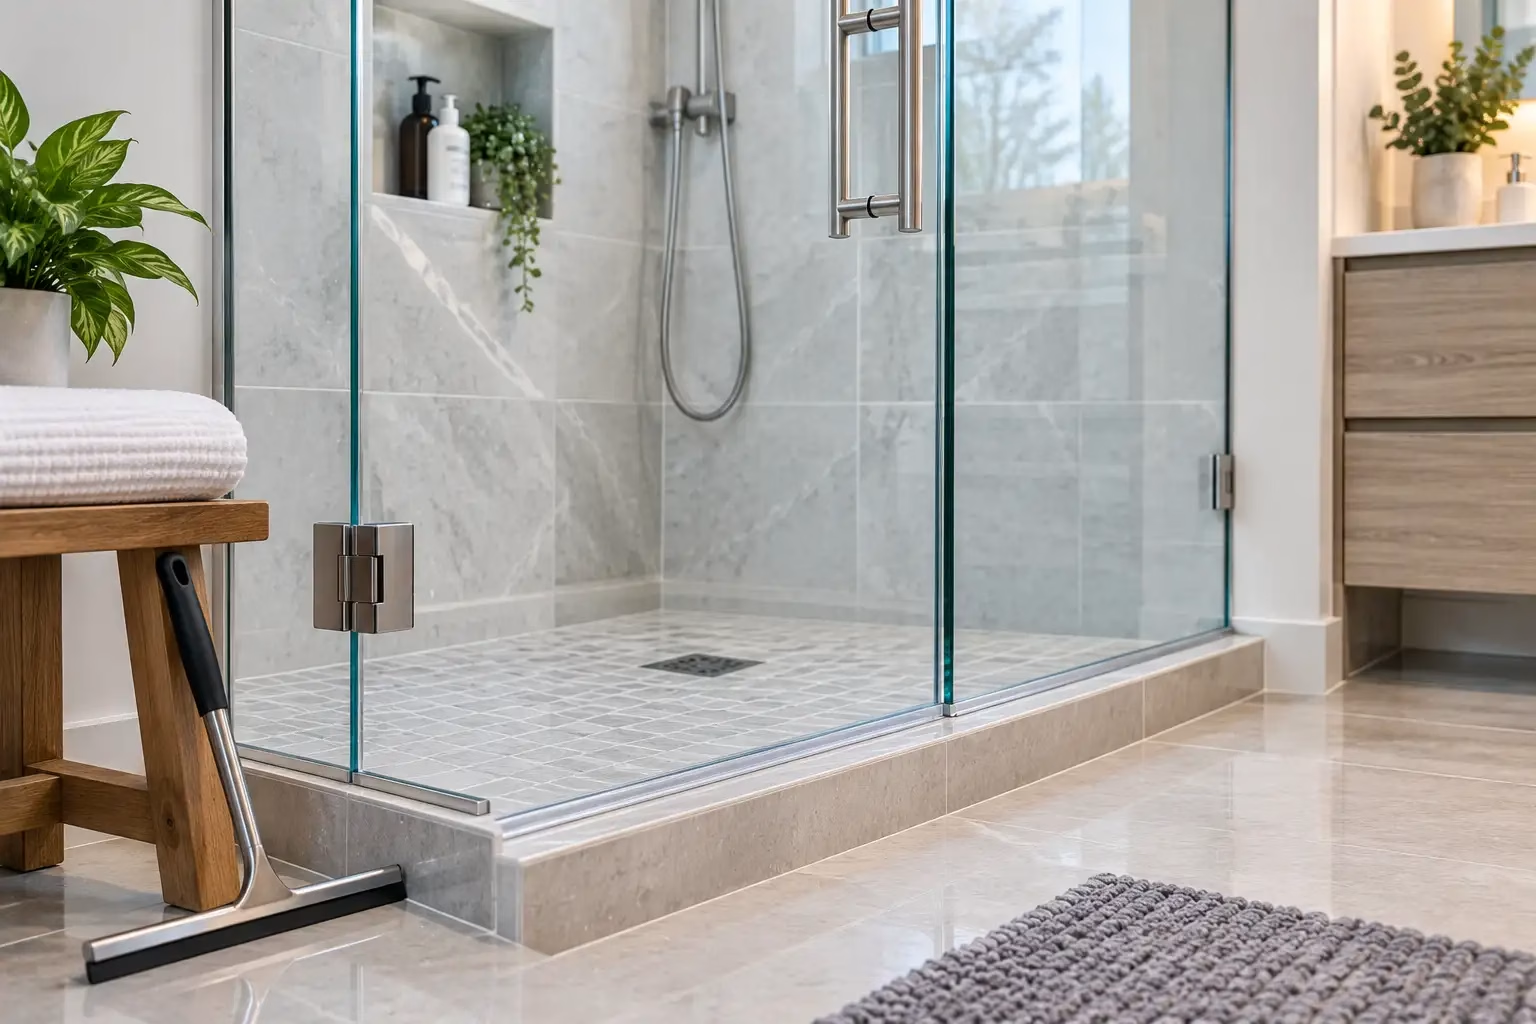
Prevention is mostly about controlling water and catching small changes early. Use a squeegee after showers, keep sweeps and clear seals free of buildup, inspect silicone for separation, and confirm that the door still closes with even gaps.
Health Canada’s guidance on controlling bathroom moisture recommends using bathroom exhaust ventilation, keeping shower surfaces clean and dry, and repairing damaged caulking or moisture problems promptly. Better ventilation will not repair shower door leaks, but it can reduce the chance that recurring dampness develops into a mould or material-damage problem.
Also pay attention to changes in how the door moves. A new scrape, click, rattle, or uneven gap is worth checking before it becomes a larger alignment issue.
A regular glass-maintenance routine can help you catch shower hardware problems along with issues affecting windows, doors, railings, mirrors, and other glass around the property.
Get Shower Door Leaks Checked by Zenith Glass & Mirror
Shower door leaks are not all the same. A worn sweep may take minutes to identify, while leakage from a shifted frameless panel, failing hardware, or poor enclosure geometry needs a closer look.
Zenith Glass & Mirror works with residential glass, custom shower enclosures, tempered glass, hardware, repair, and replacement across the GTA. If you have tested the obvious seals and water is still escaping, an inspection can help separate a glass-enclosure problem from a tile, plumbing, or waterproofing issue.
Before requesting service, take photos of the full enclosure, the first place water appears, the bottom sweep, and the hinge- and handle-side gaps. That makes the assessment more efficient.
If the enclosure needs adjustment, repair, or replacement, contact Zenith Glass & Mirror to discuss the symptoms. The goal is not to replace more than necessary. It is to identify the real path of the water and correct the right part of the system.