
Glass frosting is a fascinating technique that can turn ordinary glass surfaces into magnificent works of art. Learning the skills of glass frosting can open up a world of creative possibilities, whether you want to increase the privacy of your windows or give your glassware a lovely touch. This blog post focuses on three empowering methods that will enable you to change ordinary glass frosting into something very spectacular. Let’s start now!
Etching with Stencils
For spectacular glass frosting alterations, etching using stencils is an appreciated and adaptable technique. This technique may be used to precisely create complicated designs, making it appropriate for a variety of glassware and decorative applications. You may create stunning frosted patterns that improve the visual attractiveness of your glass surfaces by following a few basic steps. Collect all the necessary supplies before you start using stencils for etching. The glass item or glass surface you wish to frost, vinyl cuts or adhesive stencils, etching cream, a brush, and safety gloves are required. These supplies are easily accessible at craft supply stores and online.
Preparing the glass surface is essential before applying the stencil. Make sure the glass has been thoroughly cleaned and is free of any oil, dust, or filth. To get an even and smooth frosted effect, you must complete this step. Before continuing, ensure sure the glass is 100 percent dry after cleaning. Apply the vinyl cutout or adhesive stencil on the glass surface next, being cautious not to damage it. Make sure the stencil is well adhered to the glass and that there are no gaps. The stencil acts as a barrier, preserving the clear regions while allowing the etching cream to damage the exposed regions.
Applying the etching cream is now mandatory. Put on your safety gloves to protect your skin from the cream’s corrosive effects. Apply etching cream over the stencil with a brush, covering all the exposed regions with a thick, equal layer. Make careful you follow the manufacturer’s recommendations for how long to leave the cream on the glass. To reach the desired level of frost, you must complete this step. When the suggested amount of time has gone, rinse the glass under running water to get the etching cream off. The cream must be completely removed from all surfaces. After rinsing off the cream, gently peel off the stencil to expose the frosted pattern underneath. During this process, take caution not to smudge or harm the frosted parts.
To make sure there are no last-minute remnants of the etching cream, give the glass one last thorough cleaning. This step will assist you in giving your glassware or decorative item a clear and polished finish. Once the glass has dried, you can enjoy the beautiful metamorphosis you’ve created using stencil etching.
Sandblasting for Subtle Texture of Glass Frosting
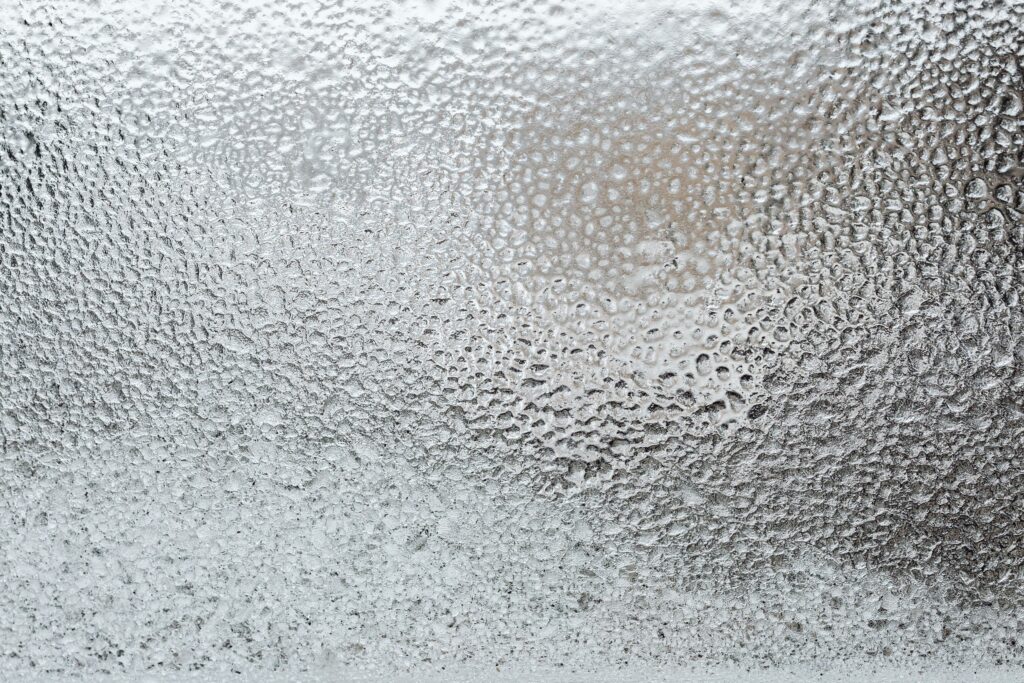
Sandblasting is a flexible method that can be used to give the glass exterior a subtle yet compelling texture. It creates a frosted appearance by gently removing minute shards from the glass by spraying it with an abrasive substance. This method is ideal for giving glassware, windows, or decorative glass objects a beautiful touch. Safety must always come first before the sandblasting process can start. Ensure that you are dressed appropriately for protection, including goggles to protect your eyes from flying debris and a respirator to avoid breathing in fine dust. Gather the required tools, such as a sandblasting machine and the preferred abrasive material, and set up a sandblasting booth or work in a well-ventilated area.
Masking off or covering the parts you want to keep transparent is essential before blasting the glass. Masking tape or a barrier film can be used to accomplish this. The frosted regions will contrast sharply with the masking portions, which will stay clean and clear. You should fill the sandblasting machine with the chosen abrasive material, which may be sand, aluminum oxide, or other specialist materials made for glass etching. Start the sandblasting procedure after setting up the equipment by carefully aiming the stream of abrasive material at the glass facade. To obtain even coverage and avoid everlasting in particular regions, keep the nozzle moving in a regulated manner.
The desired texture and the glass thickness will determine how long the sandblasting process takes. To guarantee you get the proper frosted finish, regularly check the glass and modify your sandblasting technique as necessary. Once you are pleased with the texture, take off the masking tape from the glass and give it a good cleaning to get rid of any dust or abrasive material. Alternatively, you can use a mild glass cleaner or rinse the glass with water to do this. The outcome will be a gorgeously textured glass exterior that gives your chosen object or area more depth and refinement.
Acid Etching for Delicate Designs
An age-old and proven method for producing delicate and detailed designs on glass facades is acid etching. It involves selectively removing a tiny layer of glass with an acid solution to create a frosted appearance. Acid etching is perfect for producing beautiful and unique glass artwork because it allows for a high level of accuracy and detail. Safety must always come first while beginning the acid etching procedure. When working with acid, you must take the necessary safety precautions, such as using safety goggles and gloves and working in a well-ventilated environment to reduce exposure to vapors. Choosing an acid solution made specifically for glass etching, such as the acid hydrofluoric or a commercial glass etching solution, is also crucial.
Make sure the glass facade is free and clear of any oils or dirt before applying the acid. The glass can be carefully cleaned and dried to achieve this. When the glass is ready, cover the parts you want to remain transparent with a resist substance, such as beeswax or a specialist etching resist. You may make detailed designs because the resist serves as a barrier that shields certain places from the acid. Using a brush or other suitable applicator, carefully apply the acid solution to the glass’ exposed portions. The glass will appear frosted because the acid will only dissolve the top layer of the glass.
It’s important to adhere to the guidelines included with the acid solution for how long it should be left on the glass. After achieving the desired etching effect, thoroughly rinse the glass under running water to remove all of the acid. Rinse the resist material, then peel it away to reveal the exquisitely engraved pattern. When removing the resist, exercise caution to prevent damaging the frosty regions. To guarantee that all traces of the acid and resistance are gone, clean the glass once again, leaving behind a polished and spotless finishing product.
Get your Own Glass Frosting Services
Choose Zenith Glass & Mirror glass frosting services for your glass frosting demands to see the difference by yourself. They offer remarkable results that enhance the attractiveness of your glass surfaces thanks to their knowledge, dedication to safety, and focus on customer happiness.
You may rely on the services of Zenith Glass & Mirror to make your imaginative thoughts a reality and turn plain glass into magnificent pieces of art. Get in touch with them right away to learn more about the unmatched skill and artistry they bring to every glass frosting project.